
I hinted to you in my #reslicedHappyMail post that I am planning my Bestie a Bridal Tea Party and today I want to tell you all about it the preparations I’ve made so far. I DIY’d a lot of stuff for it so far and I’m excited to share those with you.

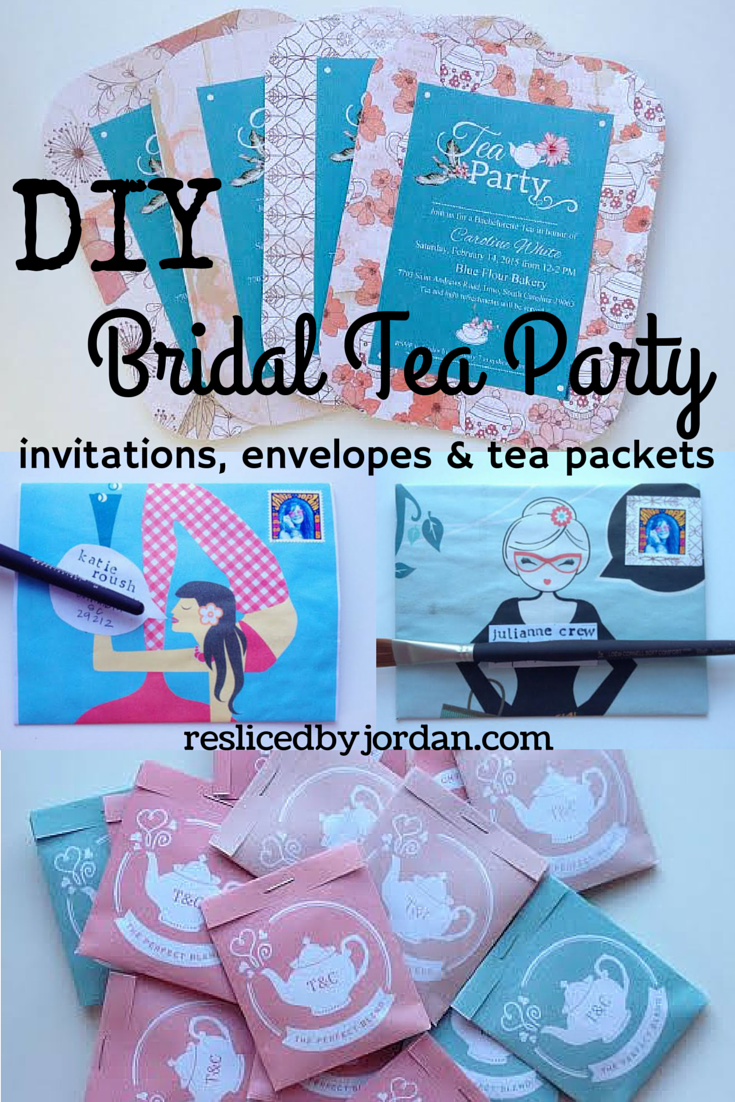
I’ve been best friends with the bride since middle school and when she asked me to be her Maid of Honor, I was over the moon! {Remember how cute the card was that she sent to me last August?!} In lieu of a traditional Bachelorette party, Caroline requested that we have a tea party with all her favorite gals. You see, the reason Caroline & I have stayed Bestie for so very long is because we’re both 85-years-old at heart. So the minute she released me from planning anything involving penis straws was just further confirmation that she’ll be the one in the rocker beside me on the front porch of our nursing home gossiping about all the old guys one day. We had originally planned to have the Bridal Tea at a tea room a few towns away, but that fell through. Caroline almost gave up on the tea party idea until I persuaded her to let me attempt to throw one myself. With help from another of Caroline’s wonderful Bridesmaids, we came up with an alternate plan that worked out perfect. There’s a lovely [locally-owned!] bakery in Irmo (our hometown) that offered to let us use their space in the afternoon to throw our own tea party. I could spend all day telling you how delicious the chocolate chip cookies are at Blue Flour Bakery, but you should probably just go buy some of your own {oh.my.word. – so good!} Ok, back to the DIY portion of this post… To start, I searched for a site where I could design and print my own invitations (I was short on time and was worried I wouldn’t get printed invitations as quick as I needed them). I stumbled upon Greetings Island (browse their Bridal Shower invitations here) and loved their templates and how easy it was to customize. Once you design your invitation, you have a few options for exporting. I chose to save mine to a PDF file with four on a page. I knew I wanted to mount mine on scrapbook paper so I opted to have them a little smaller than usual.

I actually had tea party themed scrapbook paper already that I use to mount my jewelry (makes for a great necklace or earring holder when gifting, displaying or shipping) so I didn’t have to buy any (yay!). To make the scrapbook paper “frames” around the invitations, I traced around my invitation and added an inch to each side. I didn’t love how the pointed corners looked so I grabbed the paper coffee cup I was drinking from and used the bottom to trace a rounded edge for the corners. From there, I traced the template on the back side of the scrapbook paper so the lines wouldn’t be visible on the front when cut. Then I glued the invitations to the middle of the scrapbook paper. And voila! Handmade [nearly free] invitations. With some inspiration from The Postman’s Knock, I knew I wanted to attempt making my own envelopes. What better way to practice than with 11 invitations?! This also allowed me flexibility in sizing of the invitations (since I’d be customizing the envelopes to fit). To make my template, I deconstructed the envelope that Caroline’s wedding invitation came in – like this:
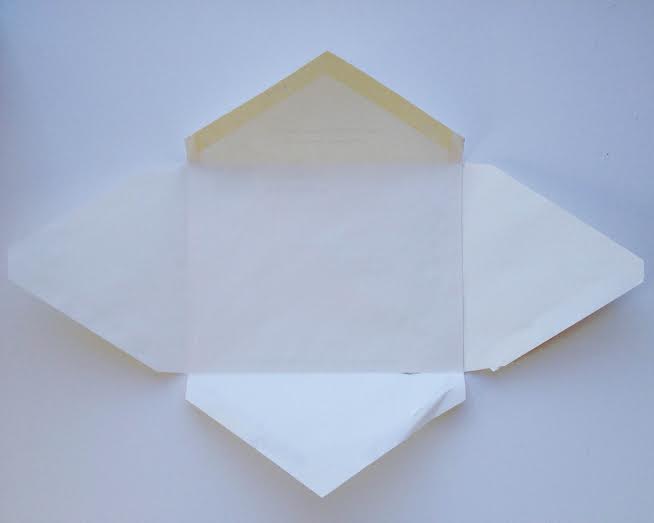
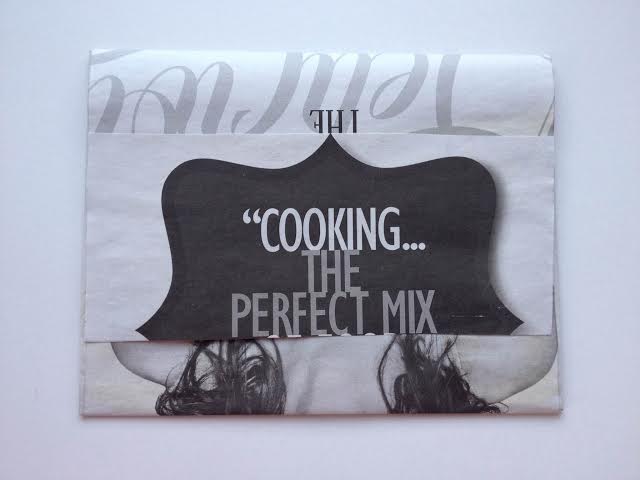
To customize the envelope template to fit my invitations, I cut off the left and right triangle flaps and sliced a bit off each side of the main piece until it was sized to fit. I reattached the side flaps though they proved to not be as necessary (since I switched to a square template and just used the top and bottom points as reference. That might be a bit confusing so if you are interested in making your own, I highly recommend following The Postman’s Knock instructions. I used a copy of our local Skirt! magazine for the envelopes.

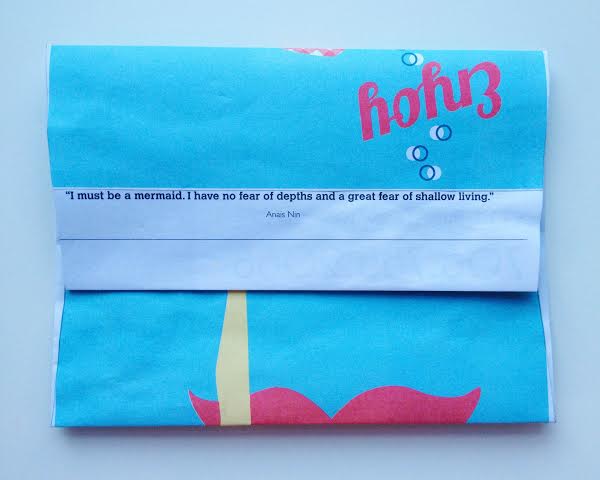
The size of the magazine is perfect for envelope-making because it is longer than a traditional magazine and the cover illustration is always beautiful. In fact, I was able to use a good bit of the magazine because the content (even the advertisements) is so lovely – it’s a very well-designed magazine. For pages that were too thin to stand alone as an envelope, I just glued two together to double it and then cut my template. If you look close at the cover picture above, you can see my envelope template outlined in pencil.
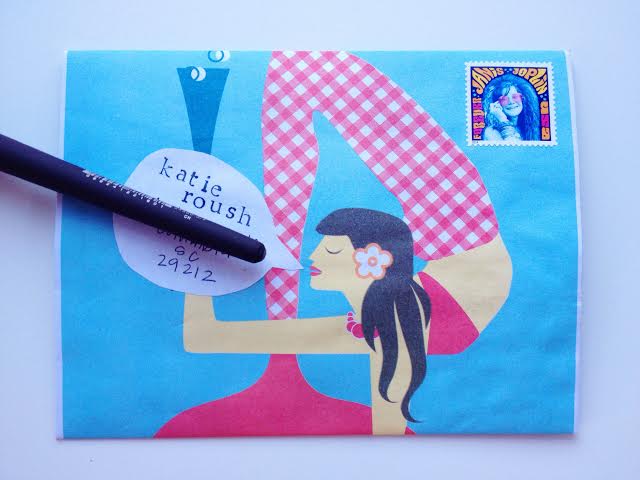
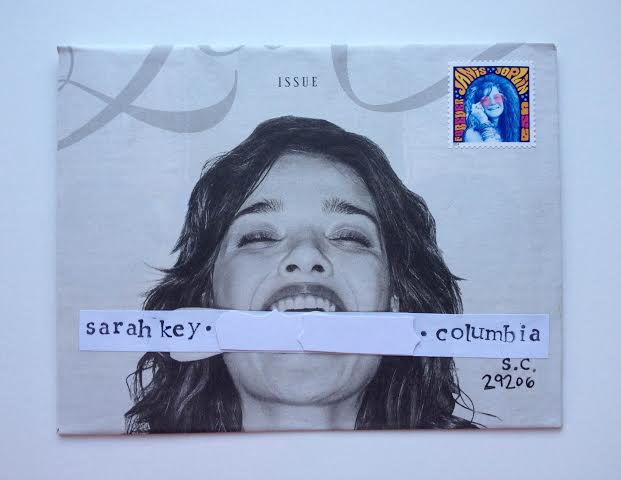

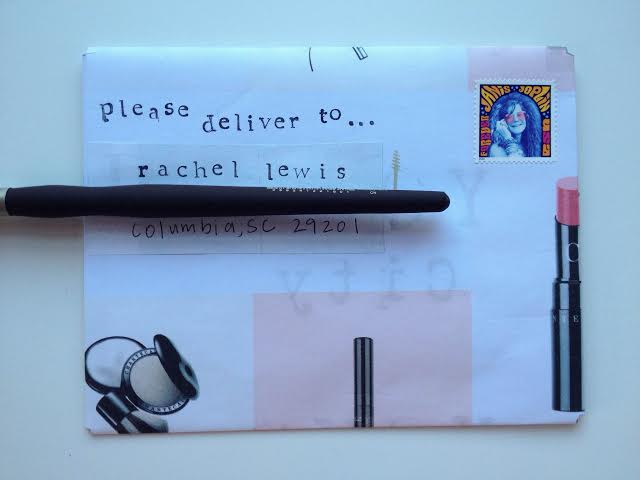
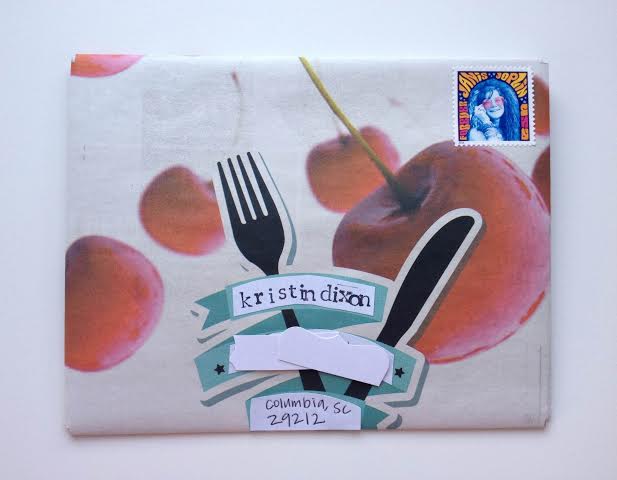
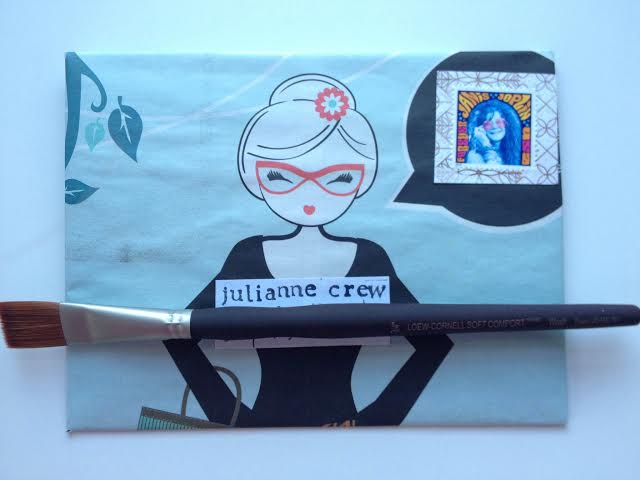
I love how each one turned out differently. I had a blast deciding who would get each one and how I’d display the address within the design. I can’t wait to make more envelopes to use for #reslicedHappyMail – speaking of, have you nominated someone yet?! If not, read all about it here & follow the link to the form. In addition to the invitation and envelope DIY, I also found a lovely [free printable] tea package. I struggled with customizing these, but the team at Botanical Paperworks was amazing and responded quickly over email to help me out. Each package says “T&C – the perfect blend” and “thank you” on the flip side. They printed in 3 different colors – one of which was coral which is the color of our bridesmaids’ dresses! Perfect.
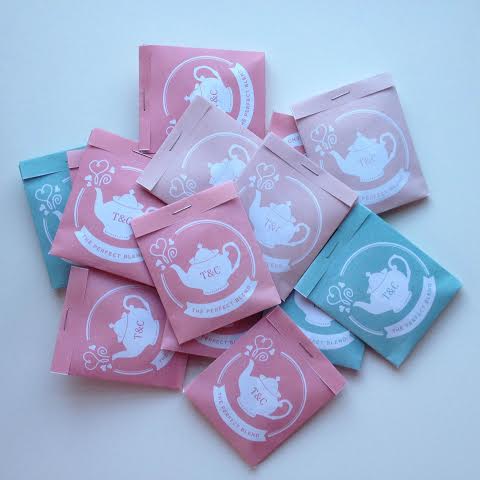
I had originally planned to make my own tea bags by purchasing loose leaf tea in the bride’s favorite flavor (berry) and sewing them by hand – like these. However, I decided to save myself the extra effort so I could use that time and energy elsewhere 🙂 Instead I used Tazo Passion herbal tea which was perfect – berry flavored and it said “passion” on the paper label which seemed appropriate 😉 To fit the tea bags into the packets, just remove them from their original paper wrapping (or purchase tea bags that aren’t individually wrapped). Have you planned a Bridal shower before? I had a ton of fun planning this one and I’d love hear about your DIY shower experiences – share them in the comments below!
{UPDATE: Read all about how the party went and pictures from the event in this post.}


4 thoughts on “DIY Bridal Tea Party”