
A few years ago I was battling cold sores and started doing some research. I ran across some claims that color dyes can cause lip irritation. Then I realized that the Vaseline lip balm I had been using had yellow dye in it. That may not have been the source of my issue, but I figured it was worth eliminating.
I really like a thicker lip balm like Vaseline so I set out to try to find a DIY that would make a good replacement.
Young Living essential oils are therapeutic grade so they are safe for use on the skin and many have great healing properties (particularly Lavender which is said to have antiseptic and antifungal properties making it a great oil for lip balm!).
Today I’m sharing my favorite lip balm recipe! The great thing about this recipe is that it can be customized using any essential oil or blends that you prefer.

The consistency of this balm is a bit more solid than petroleum jelly, but it is still on the “soft” side so I recommend using a jar for storage [rather than the twist tubes – I’ve got another recipe for those so keep reading!].
Speaking of jar, I recycled a Mary Kay loose powder container for my balm. Once it was empty it was easy to pop the sifter out. I cleaned the container by soaking it in hot, soapy water with a few drops of Lemon essential oil (it helps with removing stickers and other gooey residue from contains) for about a half hour and then scrubbed it really good.
The recipe below makes enough to fill the MK jar. While I realize not all of you will have an empty powder jar to use, here are some alternative ideas for containers:
- You may have a little empty space (you could try doubling the recipe), but you could also use a 4 ounce jelly jar (like these
*)
- An Altoids tin (don’t have one? Ask your friends. I did that once on Facebook and several people shared their empty tins with me)
- Several of these cute little sample jars
* (just ordered some & they’re great, but teeny tiny!)
- Small baby food jars
- Or really any small [clean] jar with a lid
If you are planning to use a Citrus essential oil (like Lemon, Orange, Grapefruit, etc.), I recommend avoiding plastic containers because the citrus oils can breakdown some types of plastic over time.
Rather than using a fancy double-boiler and making it forever slimy from the oils, dig through your cabinet for an unloved, empty mason jar (or recycle a marinara / salsa jar – just clean it really good using the same method I used to clean the powder jar above and/or run it through the dishwasher). It’s tough to get the jar clean once you’ve melted the oil in it so it’s best to reserve it for your oily projects.
To create the double boiler, put some water in a pot (no more than half full) then place the mason jar upright (lid removed) into the pot. You’ll add the ingredients into the mason jar while the water in the pot boils around it which will melt the ingredients. You will want the ingredients in the mason jar to be below the water line so it will melt your ingredients evenly.
I don’t bother stirring the oil as it melts because it will just dry onto whatever you’re using to stir and make a mess [warning: don’t ruin your silverware]. You can pick up the jar (use oven mitts!) and gently swirl it a few times during the process if you’d like, but it’s certainly not required.
You will want to wait to add the essential oils after you remove your double boiler from heat.
You may also want to wear an oven mitt when pouring the mixture into the tubes or jars. During the heating process, the glass mason jar can get quite hot and we want to avoid DIY-induced-injuries! If your oven mitt doesn’t have grips, the jar could slip out of your hand so be careful.
Supplies
- Clean container(s) for your lip balm
- Glass jar to combine ingredients (don’t use a fancy one you plan to ever use again 😉 )
- Small sauce pot
- 1 Tablespoon Olive Oil
*
- 2 Tablespoons Beeswax
* (I ordered pellets on Amazon, but I’ve heard you can get beeswax from local beekeepers which is a wonderful option if you know any)
- 2 Tablespoons Coconut Oil
*
- 2 Tablespoons Almond Oil
*
- Essential oils for scent (I used 4 drops of Thieves essential oil)
- Stir stick (this can get messy so keep that in mind – do not use your fine china. Chopsticks or a plastic straw work great.)
Directions
- Clean the glass jar you will use for your “double boiler” and the container(s) you will use to store your balm. Dry them completely (I recommend letting them air dry overnight).
- If you are using pellets, skip to step 3. If you are using a block of beeswax, grate it until you have enough (2 TBSP).
- Fill the small sauce pot half full of water and place over medium-low heat. The water should simmer slowly.
- Set the empty glass jar upright in the pot. The water should surround the glass jar, but no water should be coming into the glass jar.
- Add beeswax and coconut oil to the empty mason jar and heat slowly until both are melted.
- Once the beeswax and coconut oil have melted completely, remove from heat. Using your oven mitt, remove the glass jar from the hot water/pot. Do not pour out the hot water yet (you could leave it on the stove to keep it warm or just set it aside in case you need it to remelt your balm).
- Add olive oil and almond oil to jar and stir using your stir stick. Then add essential oils and stir again.
- Slowly pour mixture into your container jar(s). If the mixture begins to solidify, place the jar back into the hot water (just like you did for the double boiler) until it melts again.
- Leave the balm uncovered so that it can set for a few hours before use. I have 2 dogs who shed like it’s their job so I covered mine with a paper towel to avoid pet fur contamination. If you want to cover the balm while it sets, I recommend using a paper towel or lightweight cloth so that the balm can cool without condensation diluting your recipe (like it may if you use the container’s lid).
- Label your balm container and enjoy!
–
If you are looking for lip balm that will make a cute gift, you could use the recipe above in small jars (like these tiny pots* I ordered on Amazon recently. Be warned: they’re super tiny!) or you can make a sturdier balm for twist tubes.
Lip balm tubes are super easy to find online and are pretty cheap (I ordered these* and they work great!).
Making the balm is exactly the same as above, but the recipe will be slightly different. I followed this recipe for Lavender Honey Chapstick from Practically Funcational and it turned out great!

Before I made this balm, I heard that having a small funnel was key so I ordered this one*. I used it at first, but it made the process more frustrating because when I removed it, the oil would rise up and overflow the tube. All that said, I ended up pouring [very carefully] from the glass jar straight into the tubes and it worked out just fine.
Because I was feeling fancy (and I knew I’d be gifting these), I ordered sticker labels for my chapstick tubes:
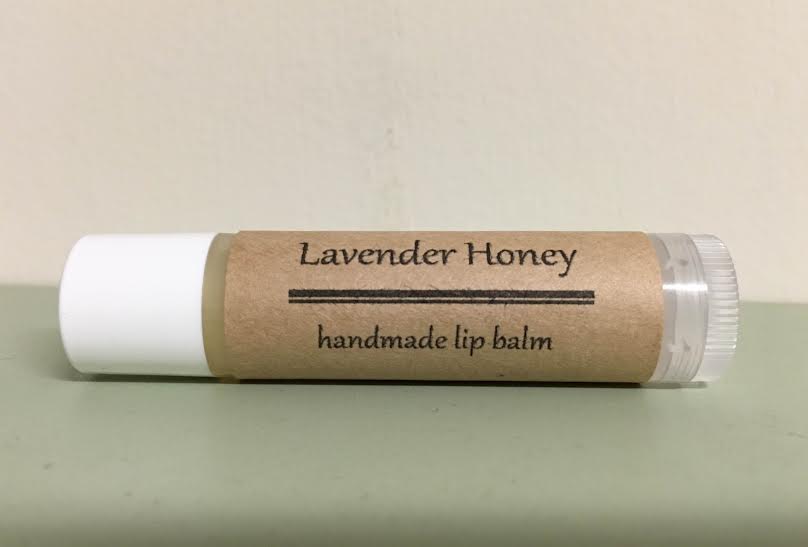
It was easy to find labels on Etsy. I ended up ordering these stickers from Chickydoddle and having half of them printed. Winnie (of Chickydoddle) was super easy to work with – she sent me proofs before printing and I received them quickly thereafter. I am really pleased with the quality and will certainly order printed labels from Chickydoddle again! I also ordered these 1-inch circle stickers – they fit perfectly on top of the tiny balm jars I ordered*.
I gifted the lip balm tubes with a handmade lotion bar. I used this recipe from Wellness Mama that a friend recommended and added 10 drops each of Lavender and Ylang Ylang.

I just so happen to have 2 of these heart shaped silicone molds which made the perfect shape for the lotion bars. The heart makes a great shape for these because the indent at the top is perfect for rubbing over knuckles!
Lotion bars might be one of my favorite new discoveries. I love rubbing the bar on my hands and feet before bed. They are so easy to make and are incredibly effective at moisturizing!
If you’ve never used a lotion bar: you rub it on your dry skin like you would a bar of soap. Your skin will melt a thin layer of the lotion onto your hands, feet, whatever it touches. You just rub it on and leave it (when I describe the application like soap, everyone always asks: “Do I wash it off?” and the answer is no – let is soak in to your dry skin and enjoy!). I now prefer the bar to regular slimy lotion. Can’t get enough of it!
–
** Disclaimer: This post contains affiliate links. While there is no extra charge for you, I may benefit from purchases you make using the links provided in this post. Thank you for your support! **


Love ❤️ the lip balm recipe!